How Long To Cure Gel Polish? That’s the million-dollar question (or, you know, the $15 mani-pedi question!). Seriously though, getting that perfect, chip-free gel manicure depends heavily on knowing how long to cure your polish. This isn’t just about the time you spend under the lamp; it’s about understanding the science behind curing, from the type of lamp you use to the thickness of your polish application.
We’ll break it all down so you can get salon-quality results at home.
We’ll explore the factors that influence curing time, like lamp type (UV vs. LED), wattage, polish brand, and even the thickness of your coats. We’ll also cover proper curing techniques, troubleshooting common problems (like that annoying sticky residue!), and even delve into the differences between various gel polish formulations. By the end, you’ll be a gel-curing guru!
Factors Affecting Gel Polish Cure Time
Several factors influence how long it takes for gel polish to cure completely. Understanding these factors is crucial for achieving a long-lasting, chip-resistant manicure. These factors interact, so a change in one can affect the others.
Lamp Type and Wattage
The type and wattage of your curing lamp significantly impact cure time. LED lamps generally cure gel polish faster than UV lamps, often in as little as 30 seconds per coat, while UV lamps typically require 2 minutes or more per coat. Higher wattage lamps also cure faster; a 48W LED lamp will usually cure faster than a 24W LED lamp.
This is because higher wattage lamps emit more intense light, leading to quicker polymerization of the gel.
Gel Polish Brand and Thickness
Different gel polish brands have varying formulations, affecting cure times. Some brands are designed for faster curing, while others might require longer exposure to the lamp. Furthermore, thicker coats of gel polish require longer curing times than thinner coats. A thick coat may not cure properly throughout, leading to a sticky or uneven finish.
Ambient Temperature
Lower ambient temperatures can slightly increase curing time, while higher temperatures can potentially speed it up. However, excessively high temperatures can negatively affect the curing process and the overall quality of the manicure. Maintaining a comfortable room temperature is recommended for consistent results.
Curing Time Comparison Table
| Coat Thickness | UV Lamp (36W) | LED Lamp (24W) | LED Lamp (48W) |
|---|---|---|---|
| Thin | 2-3 minutes | 30-60 seconds | 20-30 seconds |
| Thick | 3-4 minutes | 1-2 minutes | 45-60 seconds |
Proper Curing Techniques
Achieving a perfect cure involves more than just placing your nails under the lamp. Proper technique ensures even curing and a long-lasting manicure.
Optimal Curing Time and Positioning
The optimal curing time varies depending on the gel polish brand, lamp type, and coat thickness. Always follow the manufacturer’s instructions on the product packaging. For toes, due to their thicker skin and potentially less direct exposure to the lamp, slightly longer curing times may be necessary. Ensure all nails or toes are flat against the lamp surface to guarantee even exposure to the light.
Identifying a Fully Cured Application
A fully cured gel polish application will be completely hard and have no tackiness or stickiness. It should feel smooth and solid to the touch. If you gently press on the surface, there shouldn’t be any give or softness.
Consequences of Improper Curing
Under-curing leads to a sticky, tacky surface, making the manicure prone to chipping and smudging. Over-curing can cause the gel polish to become brittle and more likely to crack or peel. Both scenarios result in a shorter-lasting manicure and can potentially damage the natural nail.
Step-by-Step Curing Process
- Apply a thin layer of base coat and cure according to the manufacturer’s instructions.
- Apply thin coats of color, curing each coat as directed.
- Apply a thin layer of top coat and cure.
- Wipe the sticky residue (if any) with a lint-free wipe and 99% isopropyl alcohol.
Common Curing Mistakes
Source: beautybay.com
- Using too thick coats of polish
- Not curing each coat for the recommended time
- Improper positioning of nails/toes under the lamp
- Using a faulty or low-wattage lamp
- Ignoring manufacturer’s instructions
Troubleshooting Curing Issues
Even with proper technique, curing problems can arise. Knowing how to identify and address these issues is essential for maintaining a professional-looking manicure.
Common Reasons for Incomplete Curing
Incomplete curing often results from using too thick coats, insufficient curing time, a faulty lamp, or using an incompatible gel polish and lamp combination. Sometimes, the problem is simply not pressing the nails firmly enough against the lamp’s surface, resulting in uneven light exposure.
Troubleshooting a Faulty Lamp

Source: elitenails.hu
If you suspect your lamp is malfunctioning, try replacing the bulbs (if applicable). Check the lamp’s wattage and ensure it’s compatible with your gel polish. If the issue persists, consider contacting the manufacturer or replacing the lamp altogether.
Addressing Sticky or Tacky Gel Polish
Sticky or tacky gel polish after curing usually indicates under-curing. Cure the affected nails for an additional period, following the manufacturer’s recommendations. If the tackiness remains, gently buff the surface with a fine-grit file, followed by a fresh top coat and curing.
Uneven Curing
Uneven curing often stems from improper nail placement under the lamp. Ensure all nails are flat and receive equal light exposure. If certain areas remain uncured, cure those specific areas for an additional time.
Notice Blox Fruit Trade Values for recommendations and other broad suggestions.
Troubleshooting Flowchart (Descriptive Text)

Source: co.uk
Start with checking the lamp’s functionality. If the lamp is working correctly, assess the thickness of the polish coats. If the coats are too thick, reapply thinner coats. If the coats are thin and the lamp is working, check the curing time. If the curing time is insufficient, increase the curing time according to manufacturer’s recommendations.
If the problem persists, consider the gel polish brand and its compatibility with the lamp. If all else fails, consider the possibility of a faulty gel polish batch.
Gel Polish Types and Curing
Different gel polish formulations and finishes have unique curing requirements. Understanding these differences is crucial for achieving optimal results.
Curing Times for Different Gel Polish Formulations
Builder gels, designed for nail extension or strengthening, generally require longer curing times than regular color gel polishes. Soak-off gels, designed for easy removal, typically have similar curing times to regular color gels. The specific curing times will vary depending on the brand and product.
Curing Requirements for Different Finishes
Matte and glossy finishes usually have the same curing times as their pigmented counterparts. The finish type primarily affects the visual appearance, not the curing process itself. Always refer to the manufacturer’s instructions for precise curing times.
Examples of Gel Polish Brands and Recommended Curing Times
Many brands, such as OPI, Gelish, and CND Shellac, provide specific curing time recommendations on their product packaging. These times often vary slightly depending on the specific shade and formulation. It’s always best to consult the manufacturer’s instructions.
Pigmented vs. Clear Gel Polishes
There’s generally no significant difference in curing times between pigmented and clear gel polishes. Both types require similar curing times, though pigmented polishes may sometimes appear to cure slightly faster due to the color change being more visually apparent.
Factors to Consider When Choosing a Gel Polish
- Manufacturer’s recommended curing time
- Compatibility with your curing lamp
- Desired finish (matte, glossy)
- Formulation (builder gel, soak-off gel)
Visual Representation of Curing Stages: How Long To Cure Gel Polish
Observing the visual changes during the curing process helps in identifying a properly cured application.
Visual Changes During Curing, How Long To Cure Gel Polish
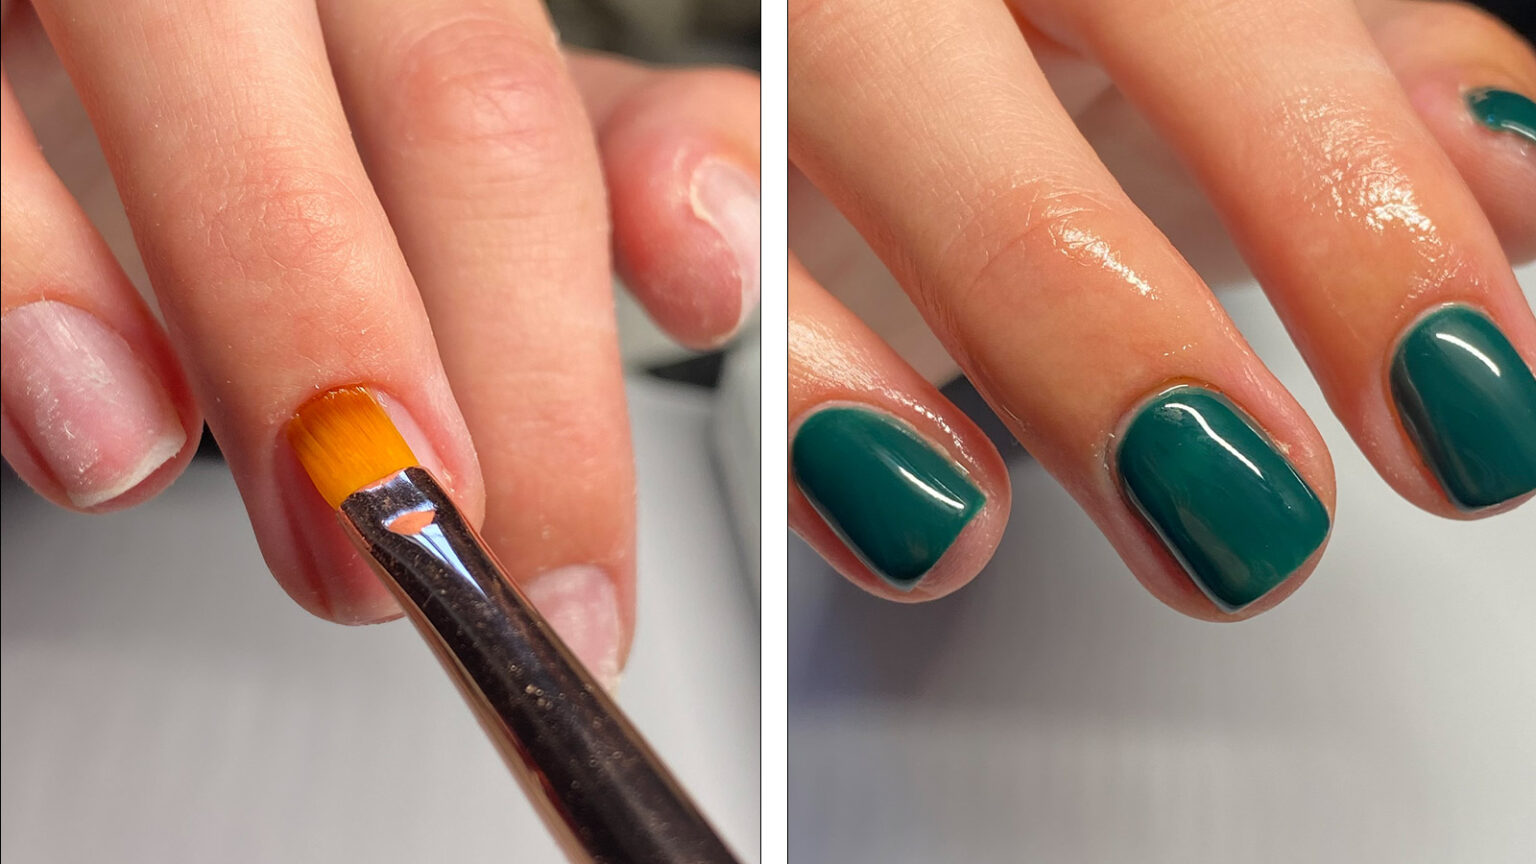
Initially, the wet gel polish will appear glossy and somewhat sticky. As curing progresses, the glossiness will gradually reduce, and the surface will become less sticky. A fully cured application will have a smooth, even surface with no visible tackiness or stickiness. The color will appear even and consistent throughout.
Appearance of Under-cured and Over-cured Gel Polish
Under-cured gel polish will remain tacky or sticky to the touch, and the color may appear uneven or slightly dull. Over-cured gel polish may appear brittle, slightly raised, or have a slightly textured surface. It might also be more prone to chipping or cracking.
Ideal Appearance of a Properly Cured Gel Polish Application
A properly cured gel polish application will have a smooth, even, and hard surface. It will be completely free of tackiness or stickiness, and the color will be uniform and vibrant. The overall look should be shiny and glossy (unless a matte top coat is used), with no visible imperfections or inconsistencies.
Final Summary
So, there you have it – the ultimate guide to mastering gel polish curing times! From understanding the nuances of different lamp types and polish thicknesses to troubleshooting those pesky sticky situations, we’ve covered it all. Remember, patience and attention to detail are key to achieving that perfect, long-lasting gel manicure. Now go forth and conquer those nails!


